If you’ve landed here and you’re wondering how to start a book blog, I’m guessing you love to read. Me too! 🙋♀️
And I’m guessing you’re always thinking about books, shopping for books, choosing books, recommending books, discussing books and actually reading books. Perhaps you’ve even thought about sharing your love of books on a blog.
Don’t wait any longer. You can start your book blog right now!
The following four steps are simple and take only 15 minutes. You’ll have your own book blog before you know it. 🙌
Please note: This guide contains my recommendations for new bloggers. As your site grows and traffic increases, other providers may better fit your needs. Tale Away is currently registered with GoDaddy and hosted with MediaTemple, both of which I also highly recommend. This post contains affiliate links to products that I truly (from the bottom of my heart) recommend. For more information, see my disclosures here.
How to Start a Book Blog: The 4 Steps
- Domain Name
- Hosting
- Install WordPress
- Choose A Design
Step 1: Domain Name
Let’s get started; the fun part! What do you want your blog to be called?
I always wanted to combine my love of books and faraway places, so I called my blog Tale Away (my domain is taleaway.com). Have a brainstorm and write down all your ideas. They might include your name, a book genre, author, book title, character, city or something else all together. I suggest coming up with a few ideas, so you have some options.
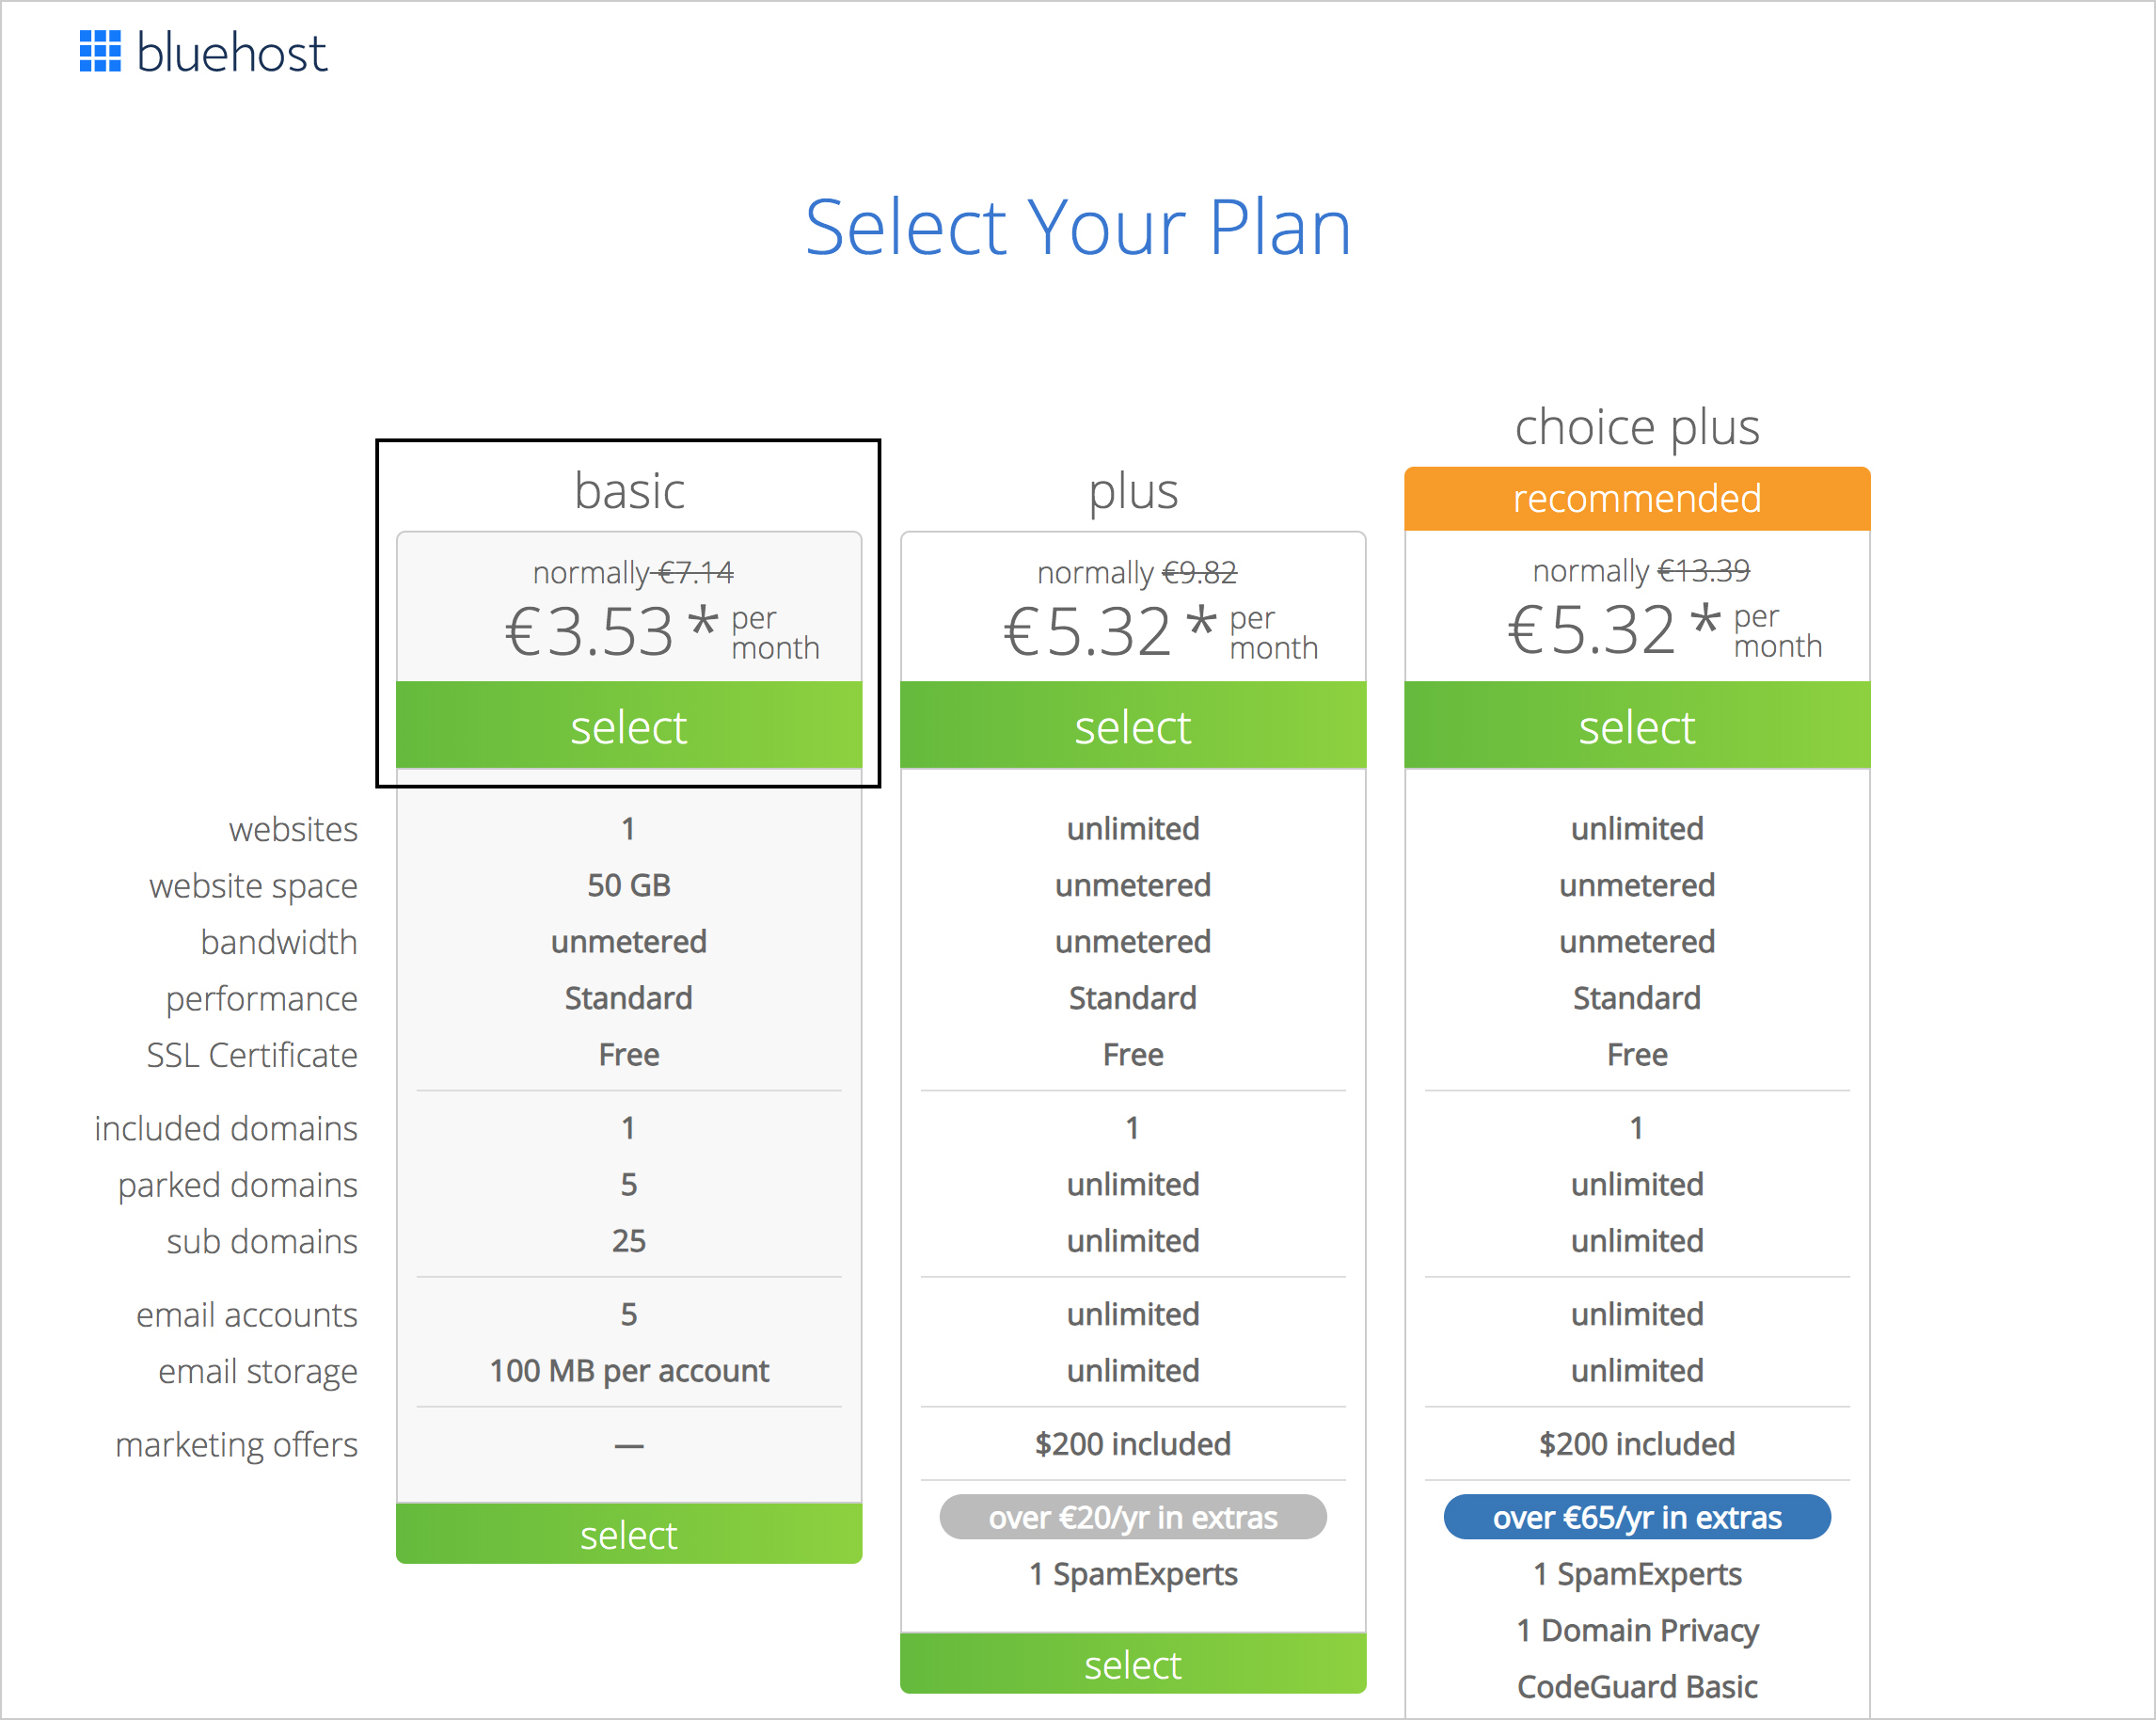
Next, check if your favorite domain name is available. Go to Bluehost and select the basic plan here:
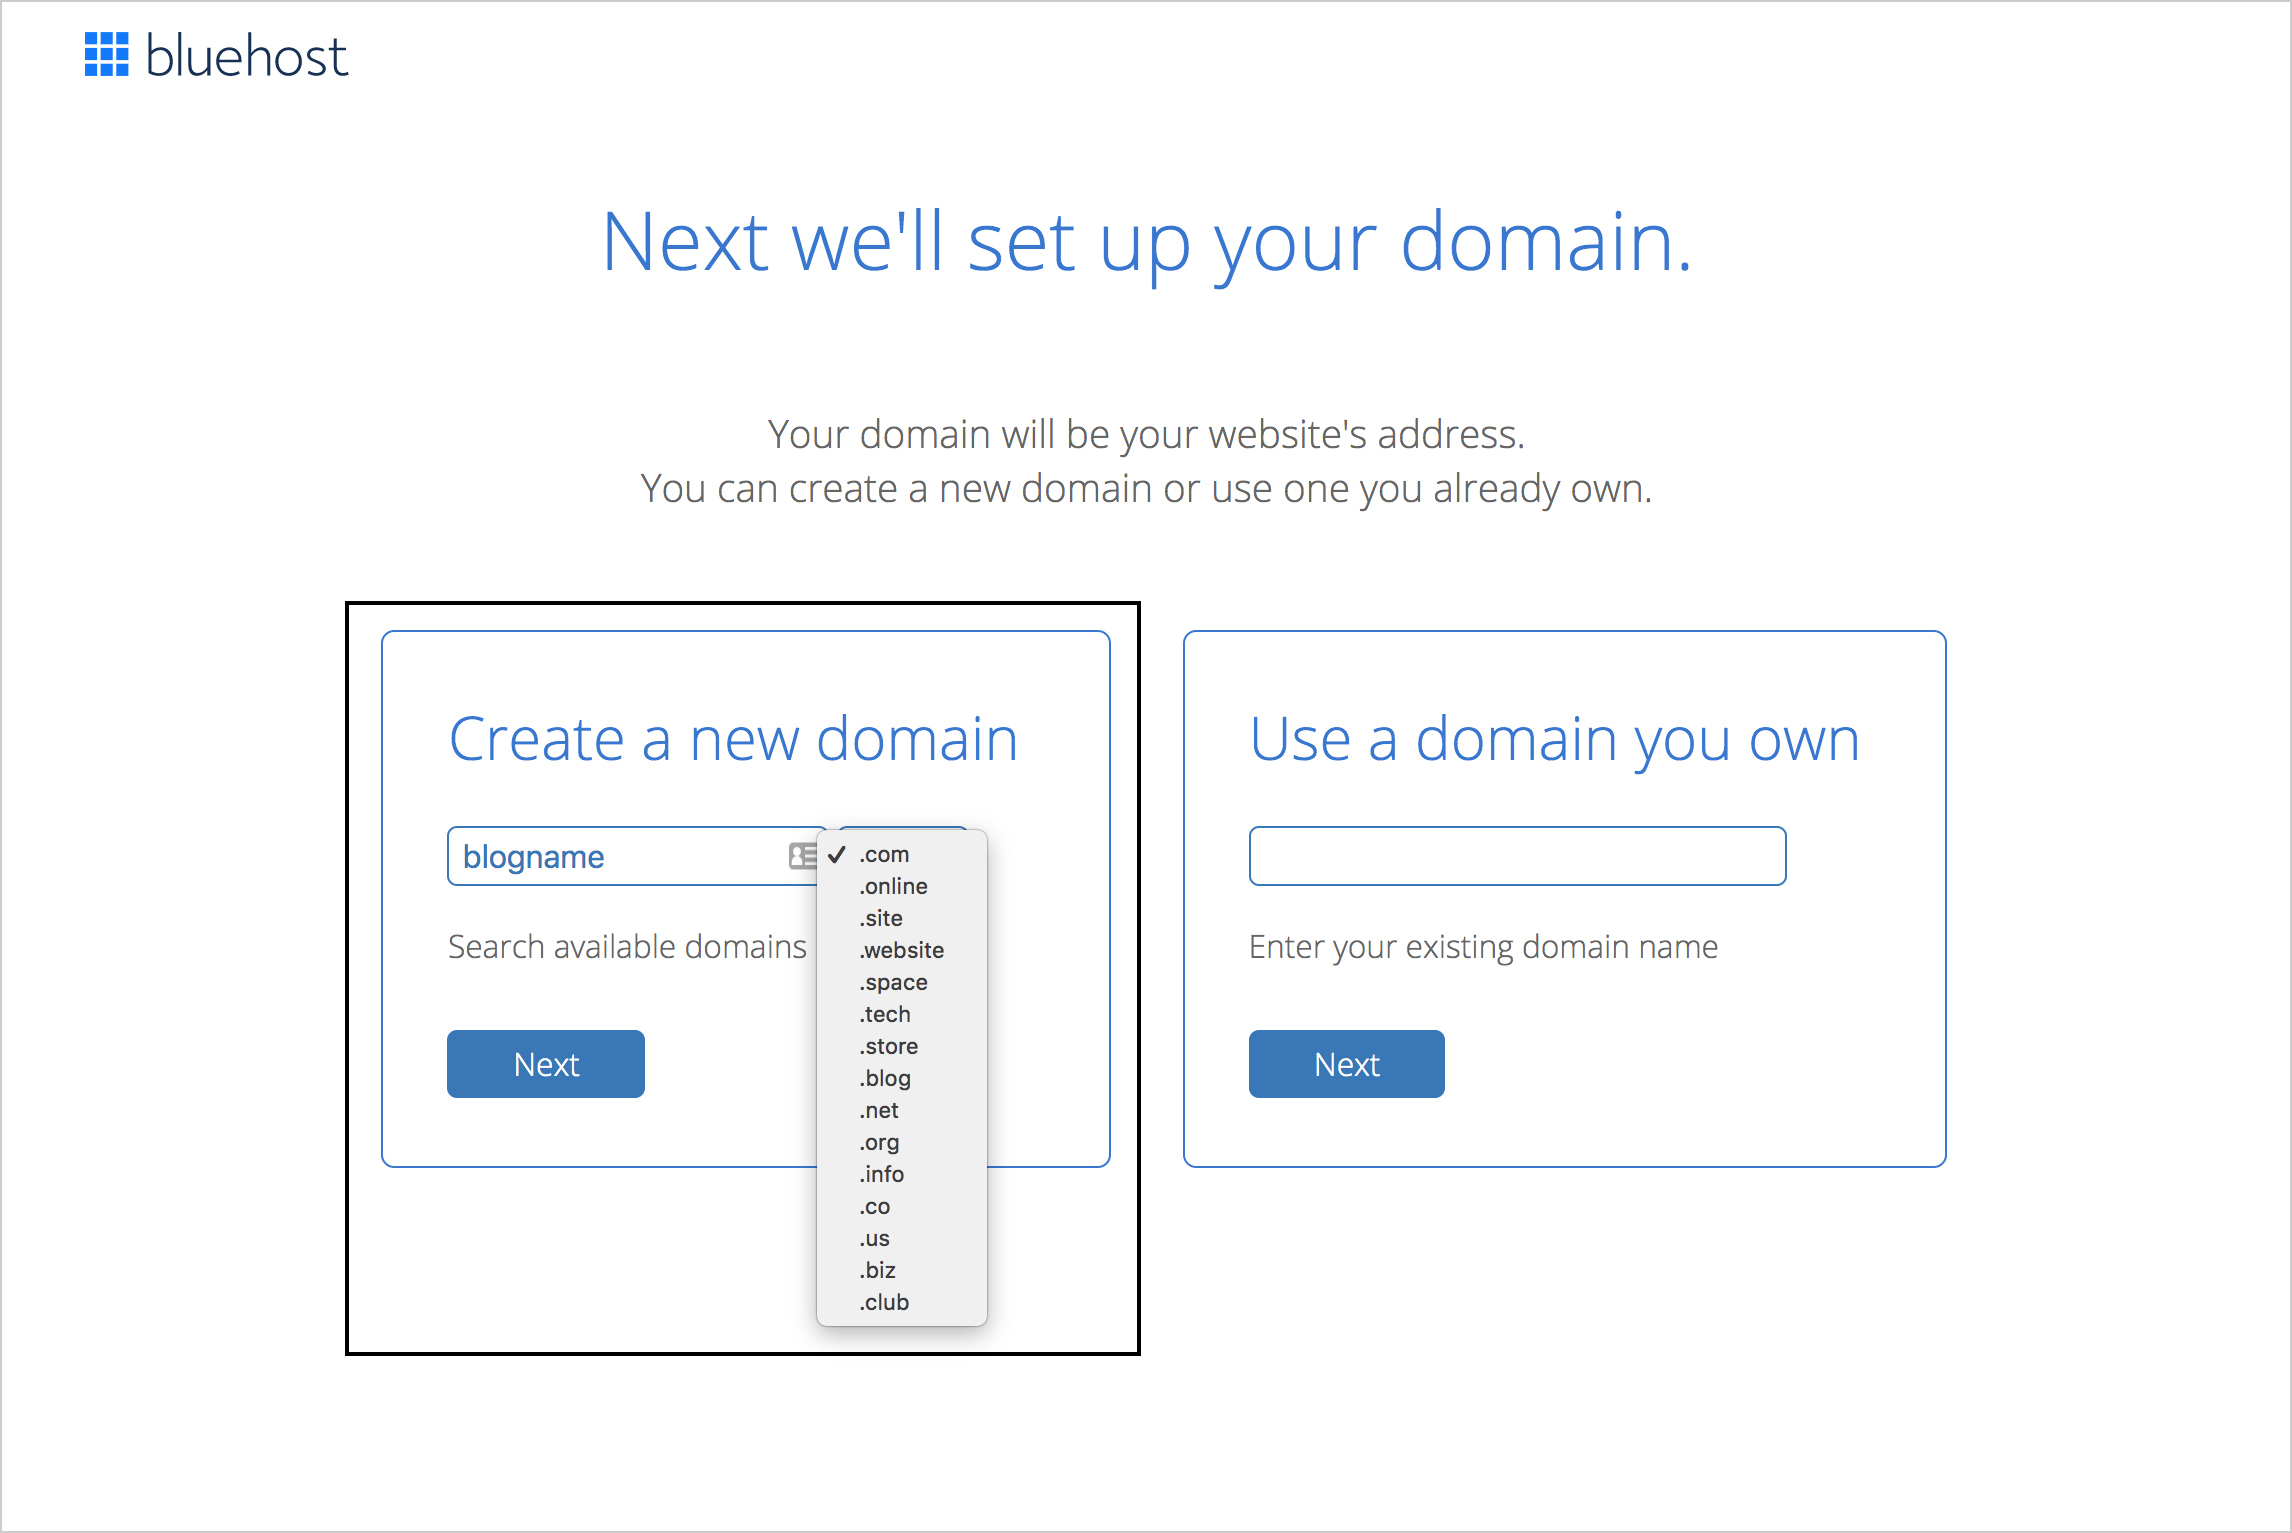
And then you’ll see the following page:
Enter your domain name in the box and choose a domain ending to see if it’s available. If it’s already taken, Bluehost will recommend some alternatives, or you can try searching again. Experiment with different domain endings (such as .site or .blog) until you’ve found something that’s available. Celebrate when you get the following happy message:
Congrats, you’ve now chosen a domain name! You can move on to the next step.
Step 2: Hosting
Hosting is essentially renting the space where your blog will live online, and there are many different companies that offer this service. If I were starting out, I’d choose Bluehost as I’ve found they have the most affordable rates and make it super easy to get started. They are the #1 host recommended by WordPress.
On the page where you found your domain name, enter your account information and scroll down to see the package information here:
This menu lists the different account plans for the Basic package, which I’d suggest if you’re just getting started. You can choose from 12, 24 or 36 month plans (shown in your local currency). The plans are paid in one lump sum up front, but can save you money over time. The longer the plan, the cheaper it works out per month.
They even include your custom domain name (which you found above) for free! 👏
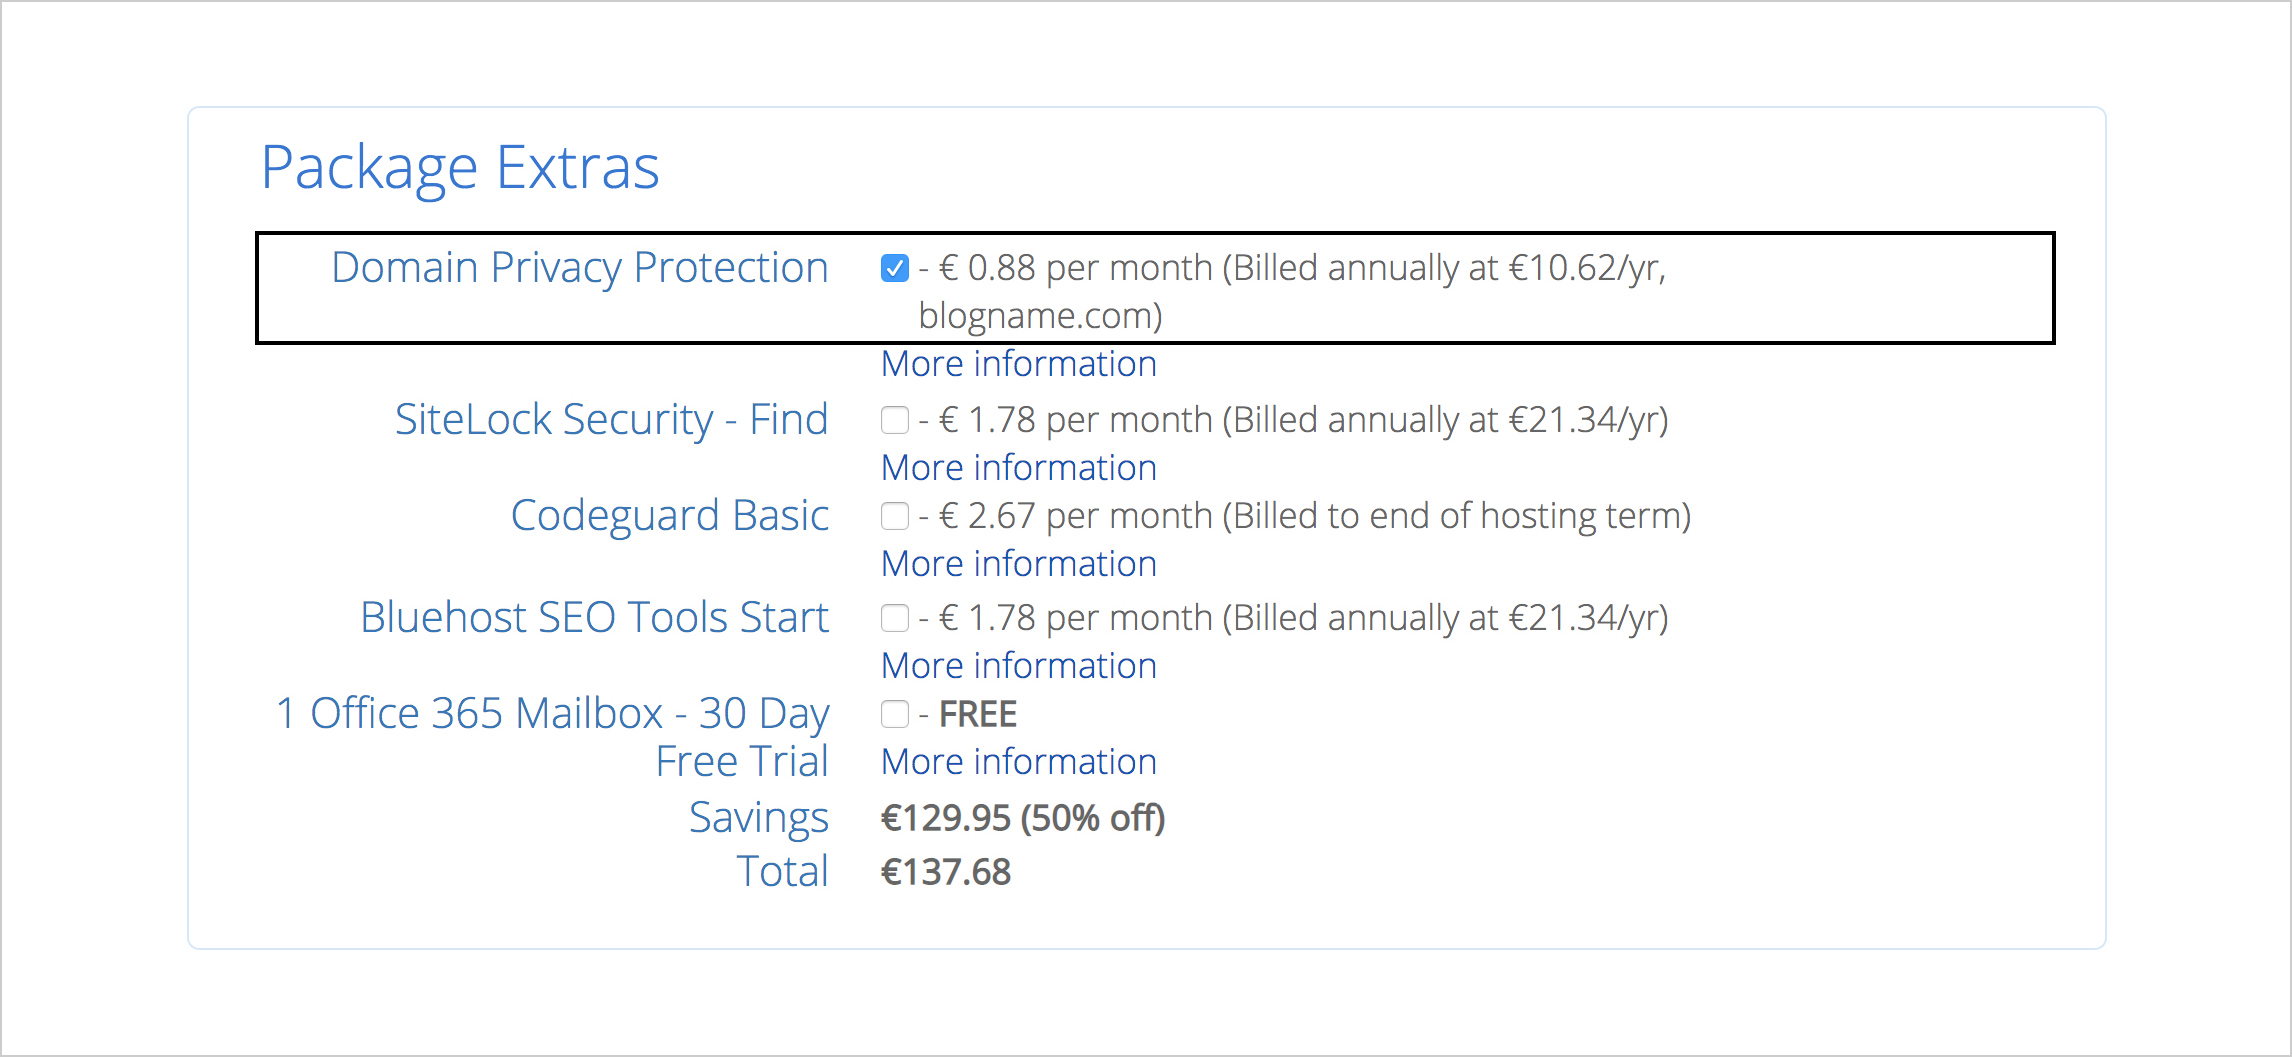
Further down the page you’ll find the package extras. The only one I’d recommend is ‘Domain Privacy Protection’. This stops your personal address and phone number from being listed publicly:
After you’ve completed the registration above, you’ll be asked to choose a password for your Bluehost account:
Once you’ve created your password you’ll see a button to log in. Now you can move on to WordPress!
Step 3: Install WordPress
WordPress is blogging software that makes running a blog a breeze. I use it for most of my websites (including Tale Away) and love how easy it is to use. Apparently nearly 27% of all websites are run on WordPress. That’s over a quarter of the internet!
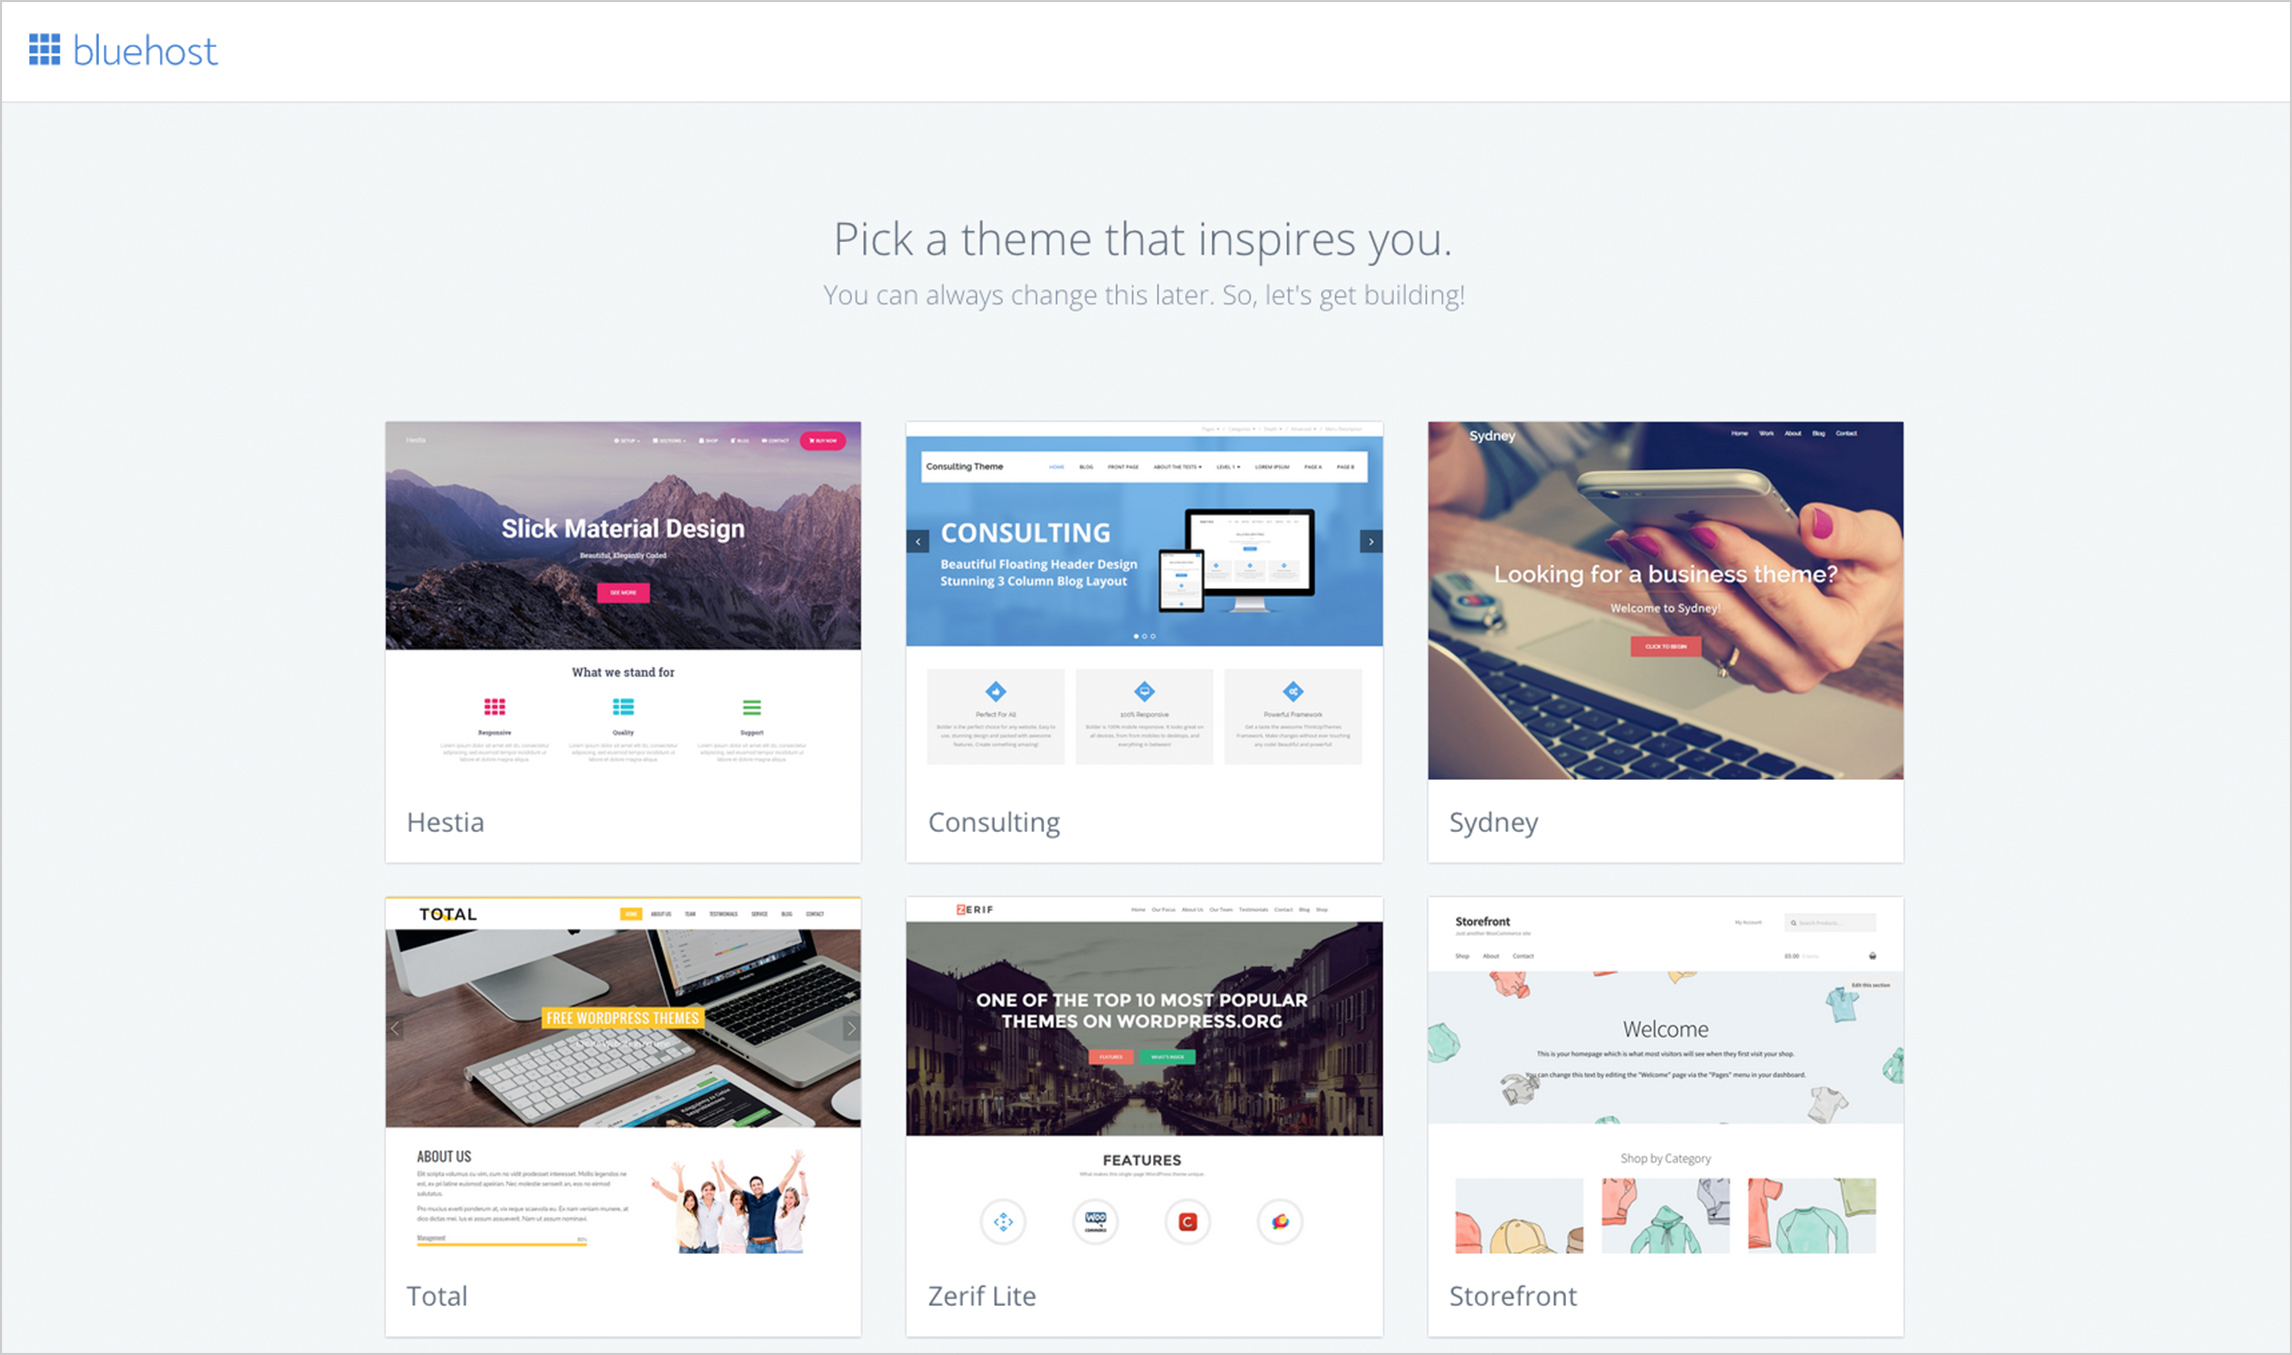
Once you’ve logged in to your Bluehost account, you’ll see a prompt to choose a theme. Pick any one. You can choose a better theme in the final step.
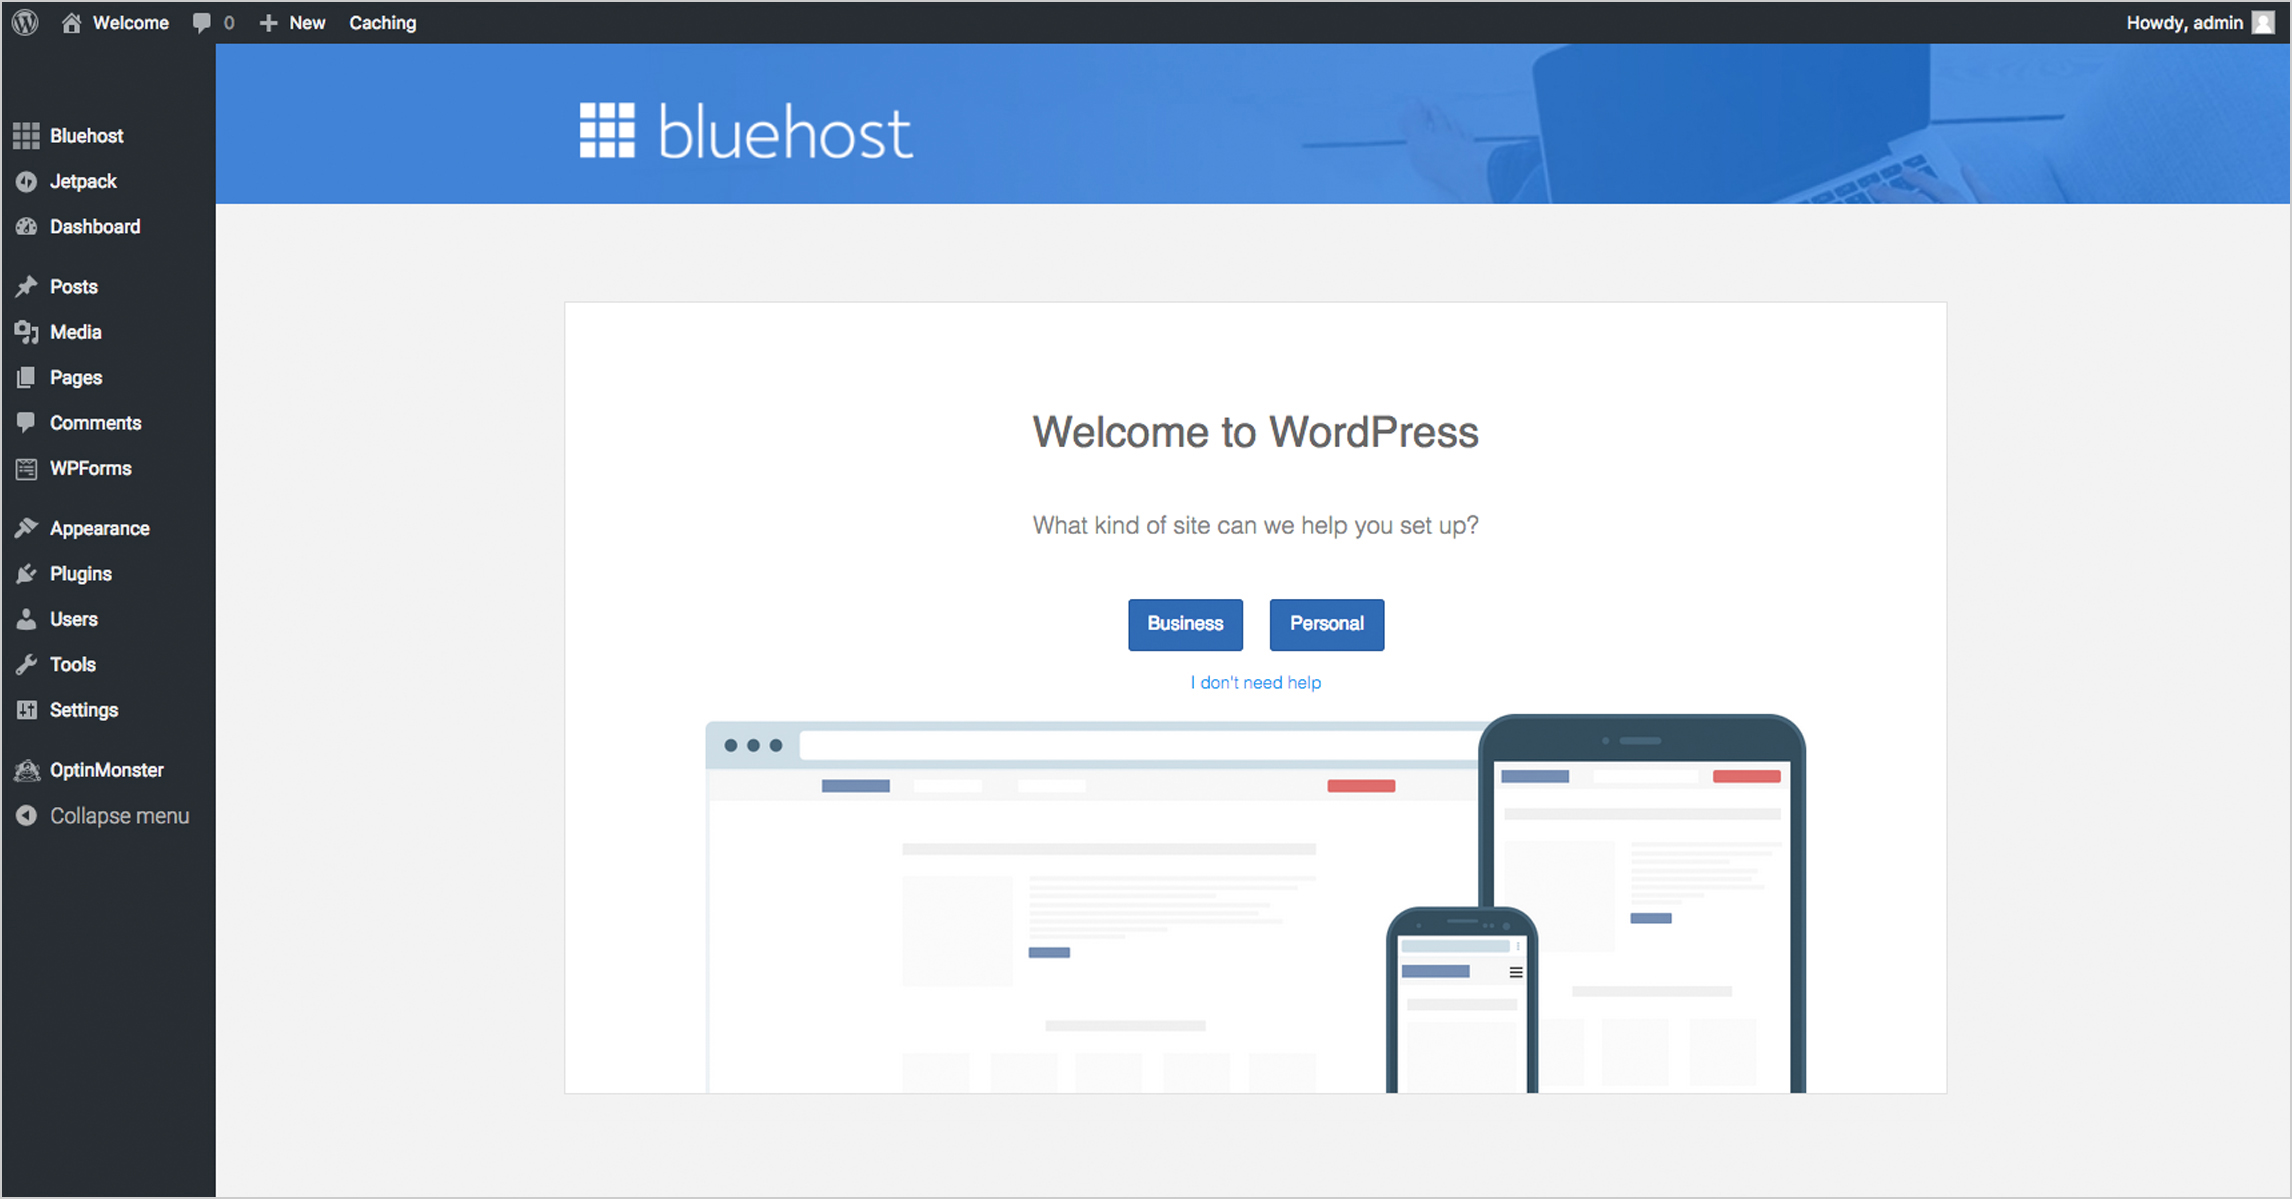
Once you select a theme, Bluehost will install WordPress in the background. This can take some minutes, just be patient! On the screen that follows, select ‘Start Building’ and you’ll then see this:
Yay! Your WordPress blog is set up. Now to the final step, let’s make it look good.
Step 4: Choose A Design
The last step is making your book blog look pretty! To change your blog design, you need to choose a theme. There are two options here:
Free Themes
WordPress offers many free themes, which you can choose from here (or by navigating to Appearance > Themes in the navigation pictured above). These are good to get started, however the quality can really vary and some are just not that great. While the library is huge, I’d really recommend sticking to the ‘Featured’ themes section if you go for this option.
Premium Themes
If you prefer to use a premium theme, you can choose from tons of unique and optimized themes. While there is a small cost involved, I’ve personally found themes to be one of the best investments I’ve ever made. To instantly have a high-quality site is magic! These are a couple of my favorites:
- Florence by Solo Pine – this is the theme I have used for years on Tale Away and handful of other sites too. I love the clean and minimal design.
- Divi by Elegant Themes – this is currently the most popular WordPress theme in the world. While I don’t use this myself, it has a visual builder that can create amazing pages and you can test out on their site here. It’s pretty neat.
That’s it, you did it! Congrats, you now have a book blog!
Welcome to the book blogging community. I’m seriously excited you’re a part of it. I adore our community so much and genuinely love seeing it continue to grow.








2 comments
I’m excited to use these tips. I can’t afford WordPress yet, so I’m on Blogger but as soon as I can I’m going to switch to WordPress.
So happy to hear Kim, wishing you the very best with your blogging!